
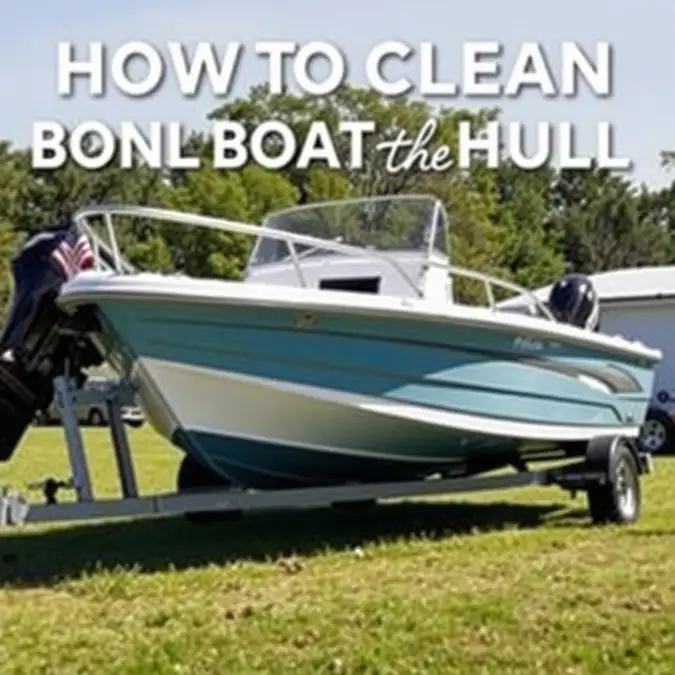
How to Clean Jon Boat Hull Before Inspection: Easy Step-by-Step Guide

Cleaning your jon boat hull before inspection saves time and avoids fail points. A clean hull shows you care for your boat and helps the inspector spot any damage. This guide walks you through the process in about forty‑five minutes using basic tools.
Estimated time: 45 minutes. Difficulty: easy. Main goal: clear away dirt, algae, and grime so the hull passes inspection.
Ready to make your boat shine? Let’s gather what you’ll need.
What You Need Before You Start
| Item / Tool | Purpose | Optional / Required |
|---|---|---|
| Bucket | Holds soapy water | Required |
| Hose with nozzle | Rinses hull | Required |
| Soft brush (non‑abrasive) | Scrubs without scratching gel coat | Required |
| Marine soap | Cleans safely | Required |
| Microfiber towels | Dries hull without lint | Required |
| Work gloves | Protects hands | Optional |
| Safety glasses | Shields eyes from spray | Optional |
| Marine wax (optional) | Adds shine and protection | Optional |
Step 1: Rinse the Hull with Fresh Water
Pull the boat onto a flat ramp or trailer, making sure the hull is accessible from every side. Turn on the hose and spray the entire hull with a wide‑angle spray.
Work from the bow toward the stern, keeping the water moving so loose dirt doesn’t dry on the surface. Spend roughly two minutes on each side.
Look for any stuck debris such as weeds or fishing line, and pull them off by hand if you spot any.
Captain’s Note: Rinse in the shade if you can; sunlight can dry water spots before you finish.
Step 2: Apply Soapy Water
Fill a bucket with clean water, then add a small amount of marine soap. Follow the label’s directions for the proper mix—using too much soap can leave residue.
Dip the soft brush into the soapy water, start at the bow, and scrub in small circles. Keep the brush wet to avoid scratching the gel coat.
Focus on one section at a time, rinsing the brush frequently in the bucket to keep it clean.
Captain’s Note: If the soap suds turn brown, rinse out the bucket and refill with fresh mixture.
Step 3: Scrub Tough Spots
For algae stains or stubborn grime, apply a little more pressure. Avoid steel wool or hard pads—they can scratch the hull.
If a spot won’t budge, let the soapy water sit for about thirty seconds, then scrub again with the soft brush.
Rinse the area immediately after scrubbing with fresh water to prevent soap from drying on the surface.
Step 4: Rinse All Soap Off
Once the hull is fully scrubbed, rinse it again with the hose. Start at the gunwale and let the water flow down toward the keel.
Make sure no soap suds remain; leftover soap can attract dirt later and cause streaks.
Run your hand over the surface—it should feel smooth, not slick or filmy.
Step 5: Dry the Hull
Grab clean microfiber towels, pat the surface dry (don’t rub hard), and work in small sections.
Swap out towels when they get wet; a dry hull makes it easier to spot any missed areas or damage.
Give extra attention to seams and rivets, where water can linger.
Step 6: Final Check and Prep for Inspection
Walk around the boat and inspect the hull for any remaining dirt, stains, or damage.
If you spot a problem area, repeat the cleaning steps just on that spot.
When the hull looks clean and uniform, you’re ready for inspection. Feel free to apply wax if you’d like.
Common Mistakes and Quick Fixes
Problem: Using Too Much Soap
Cause: Believing more soap equals better cleaning.
Quick fix: Rinse the hull with fresh water until no suds appear, then start again with less soap.
Problem: Scrubbing with a Hard Brush
Cause: Attempting to remove tough stains quickly.
Quick fix: Switch to a soft brush or sponge. Let the soap sit for a moment, then scrub gently.
Problem: Skipping the Final Rinse
Cause: Wanting to save time.
Quick fix: Rinse the hull again from top to bottom, then run your hand over it to check for any slickness.
Problem: Drying in Direct Sun
Cause: Trying to speed up drying.
Quick fix: Move the boat into the shade or wait for a cloudy day. Use towels to remove water before the sun hits.
Problem: Forgetting to Check Trailer Bunks
Cause: Focusing only on the hull.
Quick fix: After cleaning, check the bunks for dirt or damage, then clean them with the same soap and rinse.
Frequently Asked Questions About How to Clean Jon Boat Hull Before Inspection
How often should I clean my jon boat hull?
Clean the hull after every outing if you’re boating in salty or algae‑rich water. In fresh water, a monthly wash is usually enough to keep grime at bay.
Can I use household detergent?
No. Household detergents can strip wax and damage the gel coat. Stick to a soap formulated for marine use.
Do I need to wax after cleaning?
Wax is optional, but it adds shine and protects against UV and stains. Apply a thin coat with a soft cloth once the hull is dry.
What if I see blisters or cracks?
Stop cleaning and note the location. Small blisters can often be fixed with a gel‑coat repair kit, while larger cracks should be inspected by a professional.
Is it safe to clean in saltwater?
Yes, but rinse with fresh water immediately afterward. Salt left on the hull can lead to corrosion over time.
Final Thoughts
A clean jon boat hull makes inspection straightforward and shows pride in your boat. Follow these steps, use the proper tools, and double‑check your work. Your boat will stay looking great and be ready for the next adventure.
Get out there, enjoy the water, and keep your hull shining!