
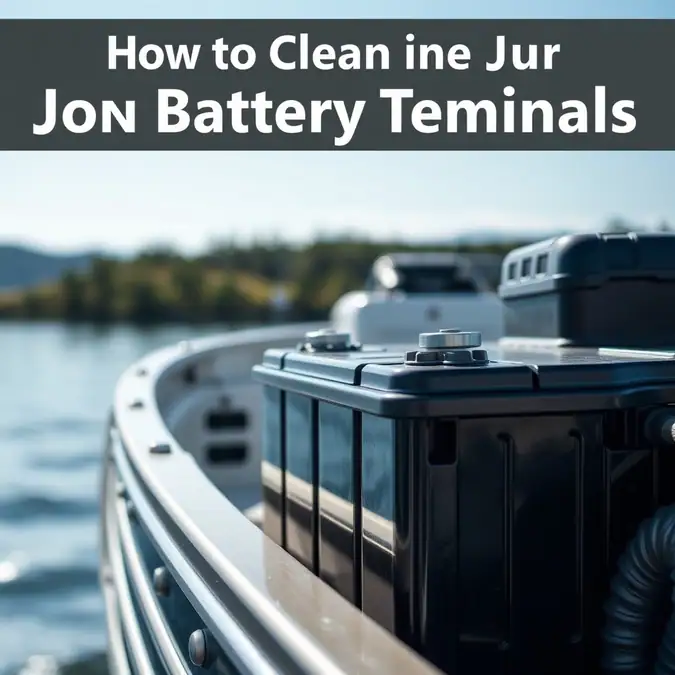
How to Clean Jon Boat Battery Terminals: A Step-by-Step Guide

Keeping your jon boat battery terminals clean saves power and prevents damage. This guide shows you how to do it fast and safe. Estimated time: 20 minutes. Difficulty: easy. Primary goal: remove corrosion and protect the connection.
Before You Start: Tools, Gear & Preparation
| Item / Tool | Purpose | Optional / Required |
|---|---|---|
| Wrench (size 10 mm) | Loosen battery nuts | Required |
| Baking soda | Neutralize acid | Required |
| Water | Rinse away residue | Required |
| Old toothbrush or brass brush | Scrub terminals | Required |
| Protective gloves | Keep hands safe | Required |
| Safety glasses | Shield eyes | Required |
| Petroleum jelly or terminal protector | Prevent future corrosion | Optional |
| Clean rag | Dry the parts | Required |
Make sure the boat is on a flat surface. Turn off all electronics. Disconnect shore power if you are plugged in. Work in a well‑ventilated area. Keep a fire extinguisher nearby just in case.
Step 1: Safety First
Put on gloves and safety glasses. Check that the battery is not leaking. If you see cracks or fluid, stop and replace the battery.
Never smoke near the battery. Sparks can ignite hydrogen gas. Keep flames and sparks away.
Ask yourself: Is the area dry? Is the boat stable? If yes, you are ready to move on.
Step 2: Disconnect the Battery
Loosen the nut on the negative (black) cable first. Use the wrench to turn it counter‑clockwise. Remove the cable and set it aside.
Then loosen the nut on the positive (red) cable. Remove it the same way. Keep the cables away from the battery posts.
Why negative first? It reduces the chance of a short circuit if your tool touches the frame.
Step 3: Inspect the Terminals
Look closely at each post and cable end. Note any white, green, or bluish crust. That is corrosion.
Feel for roughness with a gloved finger. Smooth metal means good contact.
If the corrosion is heavy, you may need to soak the area longer in the cleaning solution.
Step 4: Clean the Corrosion
Mix three tablespoons of baking soda with one cup of water. Stir until it dissolves.
Dip the toothbrush into the mix. Scrub each terminal and cable end firmly.
Watch the fizz. That shows the acid is being neutralized. Keep brushing until the metal looks shiny.
Step 5: Neutralize and Rinse
Pour clean water over the terminals to wash away the baking soda residue.
Use a rag to dry the posts and cables. Make sure no moisture stays in the crevices.
Check again for any remaining spots. Repeat the scrub if needed.
Step 6: Reconnect and Protect
Place the positive (red) cable back on its post. Tighten the nut clockwise until snug.
Do the same for the negative (black) cable. Do not over‑tighten; you can strip the threads.
Apply a thin layer of petroleum jelly or a terminal protector to each post. This helps keep moisture out.
Give the cables a gentle wiggle. They should feel solid, not loose.
Common Mistakes & Troubleshooting
Problem: Sparks when reconnecting
Cause: You connected the positive cable first.
Fix: Always disconnect negative first and reconnect negative last.
Problem: Corrosion returns quickly
Cause: Battery is overcharging or leaking acid.
Fix: Check the charger voltage. If it is above 14.4 volts, adjust or replace the charger. Inspect the battery case for cracks.
Problem: Terminal feels loose after tightening
Cause: The nut was not turned enough or the post is stripped.
Fix: Remove the cable, inspect the threads, and use a lock washer if available. Replace the hardware if needed.
Problem: Battery still weak after cleaning
Cause: The battery may be old or damaged.
Fix: Test the voltage with a multimeter. A healthy 12‑volt battery reads 12.6 volts or more when rested. Lower readings mean it is time for a new battery.
Frequently Asked Questions About How to Clean Jon Boat Battery Terminals
How often should I clean the terminals?
Check them every month during the boating season. Clean them whenever you see any white or green buildup.
Can I use vinegar instead of baking soda?
Vinegar is acidic and can harm the battery if not rinsed well. Baking soda is safer because it neutralizes acid.
Is it safe to clean the battery while it is still connected?
No. Always disconnect the battery first. Cleaning while connected risks short circuits and sparks.
What if I see a lot of heat on the battery while cleaning?
Stop immediately. Heat can mean a short or internal fault. Let the battery cool, then inspect for damage or replace it.
Do I need to remove the boat battery to clean it?
Not usually. You can clean it in place as long as you have access to the terminals and can disconnect the cables safely.
Final Thoughts
Clean jon boat battery terminals give you strong starts and longer battery life. Follow these steps each month and you will avoid many common electrical problems.
Now get out there, enjoy the water, and keep your boat running smooth.