
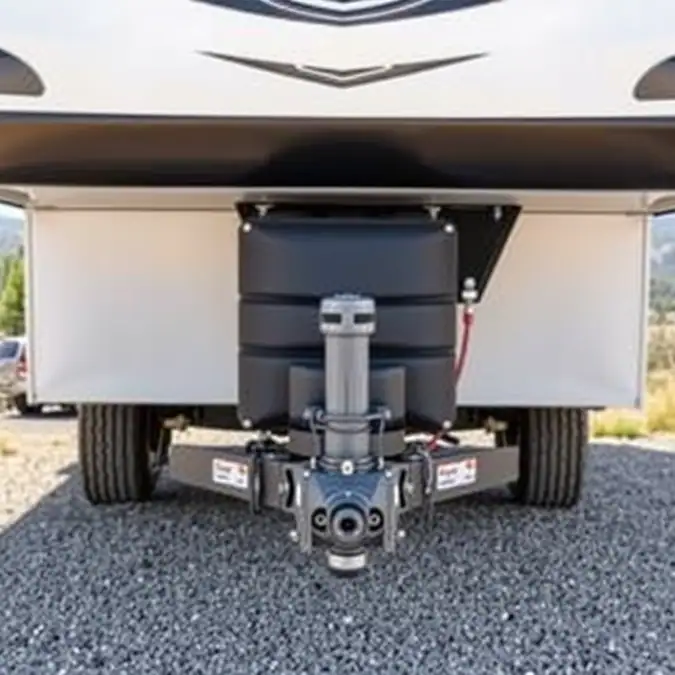
How to Set Up an RV Weight Distribution Hitch: Step-by-Step Guide

Setting up a weight distribution hitch makes towing safer and smoother. It spreads the trailer’s weight across the axles of your RV and tow vehicle. This guide shows you each step in plain language. You will learn how to prepare, install, and check the hitch. Estimated time: 45 minutes. Difficulty: medium. Primary objective: tow with confidence and avoid sway.
Before You Start: Tools, Gear & Preparation
| Item / Tool | Purpose | Optional / Required |
|---|---|---|
| Weight distribution hitch kit | Main hardware | Required |
| Torque wrench | Tighten bolts to spec | Required |
| Socket set | Remove and install bolts | Required |
| Tape measure | Check trailer height | Required |
| Level | Verify flat ground | Required |
| Wheel chocks | Keep RV from rolling | Required |
| Gloves | Protect hands | Optional |
| Safety glasses | Protect eyes | Optional |
Work on a flat, solid surface. Engage the parking brake on the tow vehicle. Place wheel chocks behind the RV tires. Disconnect the trailer plug from the tow vehicle. Make sure the trailer is not loaded with cargo yet. This gives you a clean starting point.
Step 1: Park on Level Ground
Position the tow vehicle and trailer in a straight line. Keep about two feet between them. Use the level to check the ground side‑to‑side and front‑to‑back. If the ground slopes, move to a flatter spot. A level base prevents wrong measurements later.
Set the trailer’s parking brake. Put chocks on both sides of the trailer wheels. Double‑check that nothing can roll. You should feel the trailer sit solid.
Captain’s Note: If you are on a campsite with loose gravel, lay down a sturdy board or mat under the tires. This stops sinking and keeps the level accurate.
Step 2: Measure Trailer Height
Measure from the ground to the bottom of the trailer’s coupler. Write this number down. This is the “coupler height”. Next, measure from the ground to the bottom of the tow vehicle’s hitch receiver. Write this as the “receiver height”.
Subtract the receiver height from the coupler height. The result is the “height difference”. If the trailer sits higher, you will need to raise the hitch head. If it sits lower, you will lower the hitch head.
Most hitch kits work best when the trailer is level or slightly nose‑down (up to 1 inch). Keep this in mind for the next step.
Step 3: Attach the Hitch Head
Slide the hitch head into the receiver of the tow vehicle. Insert the pin and clip to lock it in place. Use the torque wrench to tighten the mounting bolts to the manufacturer’s spec (often 70‑90 ft‑lbs). Check the bolt heads for any wear.
Adjust the hitch head up or down using the built‑in adjustment holes. Match the height difference you measured earlier. For example, if the trailer is 2 inches higher, raise the hitch head by 2 inches.
Re‑measure the coupler height after adjustment. It should now match the receiver height within half an inch. Tighten all adjustment bolts securely.
Safety Alert: Never tow with loose hitch head bolts. A loose head can detach and cause a crash.
Step 4: Install Spring Bars
Slide the spring bars into the hitch head brackets. Make sure the curved ends face the trailer. Insert the retaining pins through the bar and bracket holes. Clip the pins to keep them from sliding out.
Attach the chains or cables from the spring bars to the trailer’s frame brackets. Most kits use a “L‑bracket” that bolts to the trailer’s A‑frame. Tighten those bolts with the torque wrench to the spec listed in the manual (usually 35‑45 ft‑lbs).
Adjust the tension on the spring bars by turning the adjustment bolt on the hitch head. Turn clockwise to increase tension, counter‑clockwise to decrease. You want the trailer to sit level when the tow vehicle is attached.
Captain’s Note: Start with medium tension. You can fine‑tune after you hook up the trailer and check the ride height.
Step 5: Connect Safety Chains & Wiring
Cross the safety chains under the trailer tongue. Attach each chain to the tow vehicle’s hitch loops. Leave enough slack so the chains do not drag but can catch the trailer if the hitch fails.
Plug the trailer’s electrical connector into the tow vehicle’s socket. Test the brake lights, turn signals, and running lights. Have a friend stand behind the trailer while you operate each function.
Insert the breakaway cable (if your trailer has one) into the breakaway switch on the tow vehicle. Pull the pin to ensure it is ready to activate if the trailer separates.
Step 6: Test and Adjust
Slowly drive forward a few feet. Stop and check the trailer’s stance. The trailer should sit level or slightly nose‑down. Measure the height at the front and rear of the trailer again. Both measurements should be within half an inch of each other.
If the trailer nose is high, increase spring‑bar tension. If the nose is low, decrease tension. Re‑check after each small adjustment.
Take a short test drive at low speed (under 25 mph). Feel for sway or bouncing. If you notice sway, add a bit more tension to the spring bars. If the ride feels harsh, reduce tension slightly.
When the ride feels smooth and the trailer stays level, you are done. Double‑check all bolts, pins, and chains before hitting the road.
Safety Alert: Re‑check the hitch after the first 10 miles of travel. Vibration can loosen bolts.
Common Mistakes & Troubleshooting
Problem: Trailer sways side‑to‑side
Cause: Spring‑bar tension too low or hitch head not level.
Quick Fix: Increase spring‑bar tension in small steps. Re‑measure trailer height after each adjustment.
Problem: Hitch head bolts loose after first trip
Cause: Not torqued to spec or using wrong bolt size.
Quick Fix: Loosen bolts, clean threads, re‑torque to manufacturer’s value. Use a thread‑locking compound if recommended.
Problem: Trailer nose points up high
Cause: Hitch head set too low or spring bars over‑tightened.
Quick Fix: Lower the hitch head or loosen spring‑bar tension. Re‑check level.
Problem: Electrical lights not working
Cause: Dirty connector or blown fuse.
Quick Fix: Clean the plug contacts with contact spray. Check the tow vehicle’s fuse box for the trailer circuit.
Frequently Asked Questions About RV Weight Distribution Hitch Setup Guide
How often should I check the hitch bolts?
Check the bolts before each trip and after the first 50 miles of a new trip. Vibration can loosen them over time.
Can I use the same hitch for different trailers?
Yes, if the trailer’s GVWR stays within the hitch’s rating. Adjust the spring‑bar tension and hitch head height for each trailer.
What if my trailer has a surge brake?
Most weight distribution hitches work with surge brakes. Follow the brake manufacturer’s wiring instructions and test the brakes before towing.
Do I need lubrication on the spring bars?
Apply a light coat of grease to the pivot points if the manual says so. Too much grease can attract dirt and cause wear.
Final Thoughts
You now know how to set up a weight distribution hitch step by step. A properly installed hitch reduces sway, improves braking, and keeps your RV level. Take your time, follow the torque specs, and double‑check every connection. Safe travels and enjoy the open road!
1 thought on “RV weight distribution hitch setup guide: 5 Things to Know”