
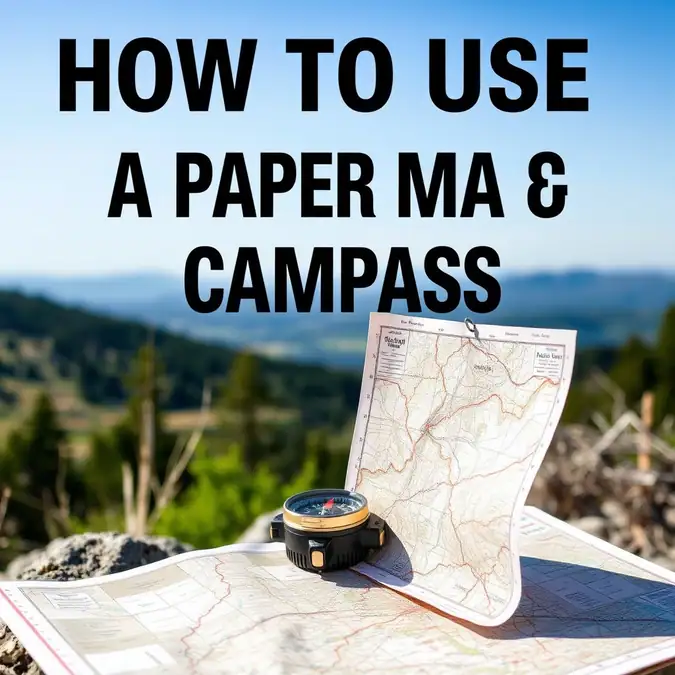
How to Use a Paper Map and Compass: A Step-by-Step Guide

Want to find your way without a phone? Learning how to use a paper map and compass is a key skill for every camper, boater, and hiker. Batteries die. Signals drop. A map and compass never fail. This guide shows you the exact steps to read terrain, set a bearing, and walk a straight line. You will gain confidence to explore off the grid.
Time: 30 minutes to learn basics. Level: Beginner. Goal: Navigate from point A to point B using only a map and compass.
Before You Start: Tools, Gear & Preparation
Gather these items before you head out. Each one plays a vital role.
| Item / Tool | Purpose | Optional / Required |
|---|---|---|
| Topographic map | Shows land shape, trails, water | Required |
| Baseplate compass | Takes and follows bearings | Required |
| Pencil | Marks route and notes | Required |
| Ruler or straight edge | Draws lines on map | Required |
| Map case or zip bag | Keeps map dry | Required |
| Headlamp | Reads map at night | Optional |
| Notebook | Logs bearings and pace count | Optional |
Safety Check: Tell a friend your plan. Check the weather. Pack extra food and water. Know the magnetic declination for your area. This is the angle between true north and magnetic north. You can find it on the map legend or online.
Step 1: Orient the Map to True North
Lay the map flat on a rock or table. Find the north arrow on the map margin. Place the compass on the map. Align the compass edge with the north-south grid lines. Turn the map and compass together until the red needle points to the declination mark. The map now matches the land. Look up. Do the hills match the contour lines?
Captain’s Note: If your compass has a declination screw, set it once for your zone. Then you skip this step each time.
Step 2: Find Your Location on the Map
Look for big features. A lake, a peak, a road bend. Match them to map symbols. Use two or three points to pinpoint your spot. This is called triangulation. Draw a small circle where you are. Mark it with the time.
Trail Hack: No clear landmarks? Use your GPS once to get coordinates. Then put the phone away. Plot the coords on the map.
Step 3: Pick a Target and Draw a Line
Choose your next waypoint. A trail junction, a campsite, a water source. Place the ruler from your location to the target. Draw a light pencil line. This is your travel line. Measure the distance with the map scale. Write the distance on the line.
Ask yourself: Is the path clear? Steep cliffs? Thick brush? Adjust the line if needed.
Step 4: Take a Bearing from the Map
Place the compass baseplate on the line. Point the direction arrow toward your target. Rotate the bezel until the orienting lines run parallel with the map north-south grid. Read the number at the index line. This is your map bearing. Write it down.
Captain’s Note: Double check. The orienting arrow must point to map north, not south.
Step 5: Adjust for Magnetic Declination
If you did not set the declination screw, do the math now. East declination: subtract from map bearing. West declination: add to map bearing. Example: Map bearing 45 degrees. East declination 10 degrees. Magnetic bearing is 35 degrees. Write the magnetic bearing on the map.
Simple rule: East is least. West is best.
Step 6: Follow the Bearing in the Field
Hold the compass level at waist height. Turn your body until the red needle sits inside the orienting arrow. The direction arrow now points your way. Pick a landmark on that line. A tree, a rock, a bush. Walk to it. Repeat. Do not stare at the compass. Look up.
Trail Hack: In thick woods, use a partner. Send them ahead on the bearing. You guide them left or right by voice.
Step 7: Track Distance with Pace Count
Count every other step. One pace equals two steps. Know your pace count for 100 meters on flat ground. Mine is 65. Yours will differ. Uphill shortens pace. Downhill lengthens it. Use pace beads or move a bead every 100 meters. Stop when you hit your target distance.
Check your map. Are you at the waypoint? If not, reassess.
Step 8: Confirm Position and Repeat
At the waypoint, orient the map again. Find your spot. Pick the next target. Repeat steps 3 through 7. Keep notes. Time. Bearing. Distance. Pace count. This log saves you if fog rolls in.
Captain’s Note: Stop every hour. Drink water. Check bearings. Small errors grow fast.
Common Mistakes & Troubleshooting
Problem: Needle sticks or spins wild.
Cause: Near metal, phone, or power lines.
Fix: Move 20 feet away. Hold compass level.
Problem: Bearing leads to wrong spot.
Cause: Forgot declination or read wrong end of needle.
Fix: Red needle always points north. Recheck map orientation.
Problem: Map gets wet and tears.
Cause: No map case.
Fix: Always use a zip bag. Carry a backup map.
Problem: Pace count off by a lot.
Cause: Terrain change or fatigue.
Fix: Recalibrate on a known 100 meter stretch often.
Frequently Asked Questions About How to Use a Paper Map and Compass
What is the best compass for a beginner?
A clear baseplate compass with a rotating bezel and declination scale. Brands like Suunto or Silva make solid entry models.
Do I need a topographic map?
Yes. Road maps lack contour lines. You need to see hills, valleys, and elevation.
How often should I check my bearing?
Every 10 minutes or at every major turn. More often in low visibility.
Can I use a phone compass as backup?
Only if calibrated and away from metal. But treat it as backup only. Battery can die.
What if I get totally lost?
Stop. Stay calm. Orient map. Use triangulation. If unsure, backtrack to last known point.
Final Thoughts
You now know how to use a paper map and compass from start to finish. The steps are simple. Orient. Locate. Plan. Measure. Adjust. Walk. Count. Confirm. Practice in a park first. Then take it to the backcountry. This skill opens wild places no phone can reach. Grab your gear. Pick a trail. Go find your way.