
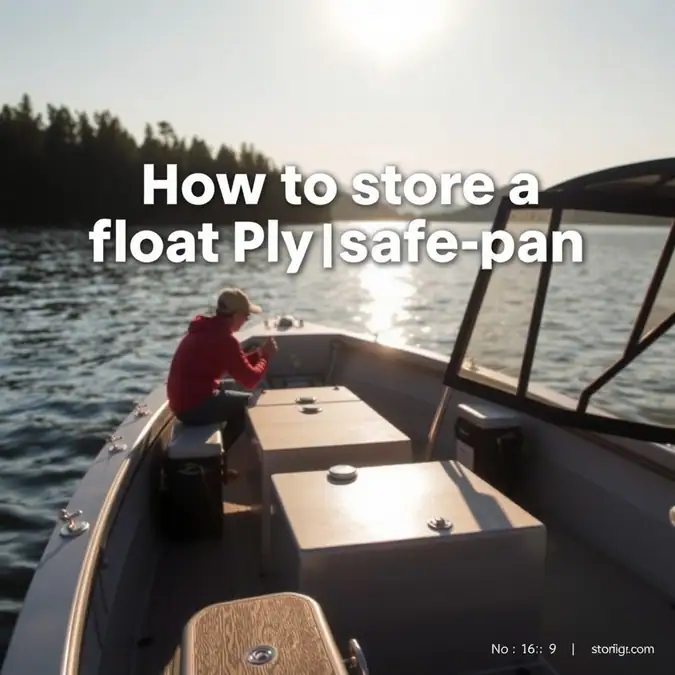
How to Store a Float Plan Safely on a Boat: A Step-by-Step Guide

A float plan saves lives. It tells people where you’re headed and when you’ll be back. If you don’t return, rescuers know exactly where to start looking. That’s why you need to keep this plan safe and dry on your boat. This guide walks you through storing a float plan the right way—in simple steps. You’ll learn the best spots, the right gear, and how to keep it readable when it matters most.
Estimated Time: 15 minutes
Difficulty: Easy
Primary Objective: Keep your float plan dry, visible, and ready for emergencies.
Before You Start: Tools, Gear & Preparation
Gather these items before you begin. You need a few low-cost supplies, most of which you probably already have.
| Item / Tool | Purpose | Optional / Required |
|---|---|---|
| Printed float plan forms | Paper copy of your trip details | Required |
| Waterproof zip bag (quart size) | Keeps paper dry from spray and rain | Required |
| Waterproof document case (hard shell) | Protects from crush and deep water | Required |
| Heavy-duty zip ties or Velcro straps | Secures case to rail or grab handle | Required |
| Bright colored duct tape | Makes case easy to spot in low light | Optional |
| Waterproof marker | Writes on bag or case if needed | Optional |
| Phone with float plan app | Digital backup you can share fast | Optional |
Safety Check: Make sure the boat is on a trailer or tied at the dock—don’t do this while underway. Work in good light and keep tools away from the water.
Step 1: Fill Out Your Float Plan Completely
Start with a blank form—you can print one from the Coast Guard Auxiliary site. Write in clear block letters using a waterproof-ink pen. List the boat name and registration number, make, model, and color. Add the number of people on board and note the safety gear you’re carrying. Write your departure time, planned return time, route, and any stops. Include the name and phone number of your emergency contact on shore. Sign and date the form. Don’t leave blank lines; if something doesn’t apply, write “N/A”.
Captain’s Note: Fill out two copies. One stays on the boat; the other goes to your shore contact.
Step 2: Place the Paper in a Zip Bag
Take one printed copy and slide it into a quart-size zip bag. Press out all the air and seal it tight—run your finger along the seal to be sure. This bag keeps spray, rain, and damp air from ruining the ink, and it protects the paper from tearing. If you have a laminator, laminate the form first, then bag it for double protection.
Notice any wrinkles in the bag? Smooth them out—a flat bag fits better in the case.
Step 3: Put the Bag in a Hard Shell Case
Open your waterproof document case. These have a rubber gasket and latch, and they float if they go overboard. Place the zip bag inside, close the lid, and snap the latches shut. Press on the lid to test the seal—you should feel firm resistance with no gaps showing. This case protects the plan from being crushed by gear and survives a dunk in the water.
Trail Hack: Choose a bright orange or yellow case. It stands out against white fiberglass or dark canvas.
Step 4: Mark the Case for Quick Identification
Use your waterproof marker to write “FLOAT PLAN” in large letters on the outside of the case. Add an arrow pointing to the latch so anyone can find and open it fast. In an emergency, seconds count—a stranger or crew member should know what it is at a glance. You can also wrap a strip of bright duct tape around the case; it’ll glow in a flashlight beam.
Step 5: Mount the Case in a Fixed, Visible Spot
Pick a spot near the helm or main companionway—somewhere easy to reach from the cockpit. Don’t hide it in a locker. Use heavy-duty zip ties looped through the case handle or mounting holes, cinched tight around a grab rail, stanchion, or steering pedestal. Trim the long tails. Velcro straps work too if you want quick removal. Make sure the case doesn’t swing or bang against anything, and keep it upright so water runs off the lid.
Ask yourself: Can I grab this with one hand in rough water? If not, move it.
Step 6: Give the Shore Copy to Your Contact
Hand the second printed copy to your shore contact—a friend, family member, or marina office. Walk them through the plan: when you’ll check in, who to call if you’re late (Coast Guard is 911 or VHF Channel 16), and your boat description. A photo of the boat helps. This step isn’t on the boat, but it completes the safety loop.
Step 7: Create a Digital Backup on Your Phone
Open a float plan app like the USCG Float Plan app or BoatUS. Enter the same data from your paper form, save it, and share it with your shore contact by text or email. Now you have a live record you can update if your route changes, and the app can alert your contact if you don’t check in on time. Keep your phone in a waterproof pouch on deck, and bring a power bank—a dead phone helps no one.
Captain’s Note: Digital doesn’t replace paper. Phones die, screens crack. Paper in a hard case works every time.
Common Mistakes & Troubleshooting
Problem: The case leaks.
Cause: Dirt on the gasket or latch not fully closed.
Quick Fix: Rinse the gasket with fresh water. Wipe clean. Relatch firmly. Test by submerging in a bucket for 30 seconds.
Problem: The paper is unreadable.
Cause: Used regular pen ink or pencil.
Quick Fix: Rewrite with a waterproof pen. Laminate if possible. Always use a zip bag.
Problem: The case falls off underway.
Cause: Zip ties too loose or cut too short.
Quick Fix: Use new, longer zip ties. Double them up. Check tension before every trip.
Problem: Shore contact does not have the plan.
Cause: Forgot to hand it over or send digital copy.
Quick Fix: Make it a pre-departure checklist item. Do not leave the dock until they confirm receipt.
Frequently Asked Questions About How to Store a Float Plan Safely on a Boat
Do I need a float plan for short trips?
Yes. Even a two-hour trip can go wrong. A plan takes five minutes and gives rescuers a starting point.
Can I just use a phone app and skip paper?
No. Phones fail, batteries die, water kills electronics. Paper in a sealed case is your backup.
Where is the best place to mount the case?
Near the helm or companionway. High on a rail. Visible from the cockpit. Not inside a locker.
How often should I update the plan?
Every trip. Change the date, route, crew, and return time. Old data misleads rescuers.
What if I boat alone?
Still file a plan. Give it to a reliable shore contact. Set a check-in time. If you miss it, they call for help.
Final Thoughts
You now know how to store a float plan safely on a boat. You have a paper copy in a zip bag inside a hard case, mounted where you can grab it fast. Your shore contact has a copy. Your phone holds a digital version. This layered approach covers every failure mode. It costs little, takes minutes, and can save your life. Make it a habit—do it every time you leave the dock. The water rewards preparation. Stay safe, have fun, and see you out there.
1 thought on “how to store a float plan safely on a boat: 5 Tips”