
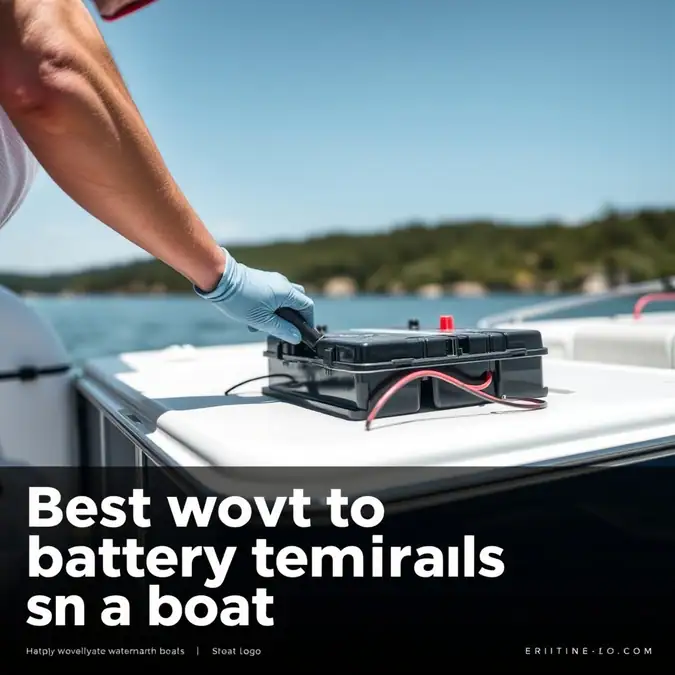
How to Clean Battery Terminals on a Boat: A Step-by-Step Guide

Dirty battery terminals can leave you stuck at the dock. The best way to clean battery terminals on a boat is simple, fast, and cheap. You need a few basic tools and about 20 minutes. This guide shows you each step so your engine starts every time.
Estimated Time: 20 minutes
Difficulty: Easy
Primary Objective: Remove corrosion and restore a solid electrical connection
Before You Start: Tools, Gear & Preparation
Gather everything before you open the battery box. A flat, dry workspace helps. Make sure the boat is on the trailer or tied tight at the dock. Turn off all switches. Remove the key from the ignition.
| Item / Tool | Purpose | Optional / Required |
|---|---|---|
| Wrench or socket set (usually 10mm or 1/2 in) | Loosen terminal nuts | Required |
| Wire brush or battery terminal cleaner tool | Scrub corrosion off posts and clamps | Required |
| Baking soda | Neutralize acid corrosion | Required |
| Water in a small cup or spray bottle | Mix with baking soda and rinse | Required |
| Old toothbrush or small stiff brush | Apply cleaning mix to tight spots | Required |
| Clean rags or shop towels | Dry terminals and wipe hands | Required |
| Marine grease or dielectric grease | Protect clean terminals from future corrosion | Required |
| Safety glasses | Protect eyes from splatter | Required |
| Nitrile gloves | Keep acid off skin | Required |
| Battery terminal protectant spray (optional) | Extra seal against moisture | Optional |
Safety Check: Wear glasses and gloves. Battery acid burns skin and eyes. Keep open flames away. Batteries release hydrogen gas. No smoking. No sparks.
Step 1: Disconnect the Negative Cable First
Locate the negative post. It is marked with a minus sign (-) and usually has a black cable. Loosen the nut with your wrench. Pull the cable clamp off the post. Tuck the cable away so it cannot touch the post again.
Why negative first? It breaks the ground path. If your wrench touches metal while on the positive post, you get a big spark. Negative first prevents that.
Captain’s Note: Mark the cables with tape if they are not color-coded. Red for positive, black for negative. Saves confusion later.
Step 2: Disconnect the Positive Cable
Now move to the positive post. It has a plus sign (+) and usually a red cable. Loosen the nut. Remove the clamp. Set it aside. Do not let the positive cable touch any metal part of the boat.
Notice any rust around the seal? That means water got in. Clean it well.
Step 3: Inspect the Battery and Cables
Look at the battery case. Cracks or bulges mean replace the battery. Check the cable ends. Frayed wires or green powder inside the insulation mean cut back and re-crimp or replace the cable.
Wiggle each cable. It should not move at the lug. Loose lugs cause heat and voltage drop.
Step 4: Make the Cleaning Paste
Mix baking soda and water in your cup. Aim for a thick paste. About two tablespoons of soda to one tablespoon of water. Stir until smooth.
The paste will fizz on acid corrosion. That is normal. It means the acid is being neutralized.
Step 5: Scrub the Terminals and Posts
Dip your toothbrush in the paste. Coat each post and each cable clamp inside and out. Let it sit for one minute. Scrub hard with the wire brush. Spin the terminal cleaner tool on the post if you have one. Get down to shiny lead.
Rinse with clean water. Wipe dry with a rag. Make sure no paste stays in the battery vent caps.
Step 6: Apply Grease and Reconnect Positive First
Put a thin coat of dielectric grease on the positive post. Slide the positive clamp on. Tighten the nut snug. Do not overtighten. Lead is soft. You can strip the threads.
Wiggle the clamp. It should not move.
Step 7: Reconnect Negative Last
Grease the negative post. Install the negative clamp. Tighten the nut. Wiggle to confirm it is solid.
Spray terminal protectant over both connections if you have it. It adds a water-resistant film.
Step 8: Test the Connection
Turn the key to the “on” position. Check that gauges light up. Try the blower. Try the lights. Crank the engine. It should spin fast and start clean.
If it cranks slow, re-check the nuts. A loose nut is the most common cause.
Common Mistakes & Troubleshooting
Problem: Engine still cranks slow.
Cause: Loose terminal nut or dirty post missed during cleaning.
Quick Fix: Re-tighten nuts. Re-scrub any dull spots.
Problem: White powder returns fast.
Cause: Battery overcharging or vent caps loose.
Quick Fix: Check charger voltage. Tighten vent caps. Coat with more grease.
Problem: Cable clamp cracked.
Cause: Age and heat cycles.
Quick Fix: Replace the clamp. Crimp a new one or buy a pre-made cable end.
Problem: Spark when connecting negative.
Cause: A load is on (light, pump, radio).
Quick Fix: Turn all switches off before final connection.
Frequently Asked Questions About Cleaning Battery Terminals on a Boat
How often should I clean boat battery terminals?
Check every month during season. Clean at least twice a year: spring launch and fall layup.
Can I use Coke or Pepsi to clean terminals?
It works in a pinch but leaves sticky sugar residue. Baking soda is cheaper and rinses clean.
What if the terminal bolt is stripped?
Replace the bolt. Use a stainless steel bolt with a nylock nut. Do not overtighten the new one.
Do I need to disconnect both batteries on a dual-bank system?
Yes. Treat each battery separately. Negative first on each bank.
Is dielectric grease the same as Vaseline?
No. Vaseline melts in heat and attracts dirt. Dielectric grease stays put and resists water.
Final Thoughts
Clean terminals mean reliable starts. The best way to clean battery terminals on a boat uses baking soda, a wire brush, and dielectric grease. No fancy chemicals needed. Do this twice a year and you will avoid the click-no-start moment at the ramp. Grab your tools, open the hatch, and get it done. Your next trip will thank you.
1 thought on “best way to clean battery terminals on a boat: 5 Things to Know”