
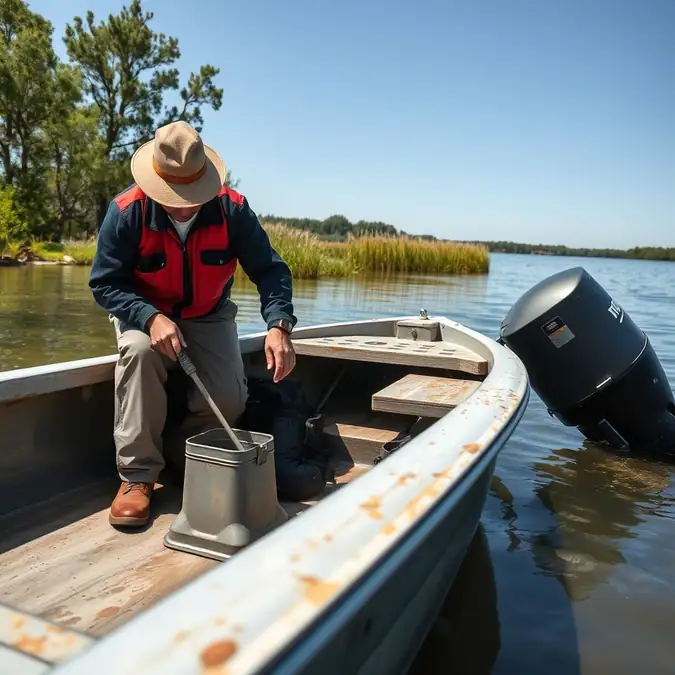
How to Check Jon Boat Bilge for Water: Easy Step-by-Step Guide

Checking your jon boat bilge for water is easy and important. Water in the bilge can sink your boat or damage gear. This guide shows you how to check jon boat bilge for water in a few simple steps. You will need only a few tools and about ten minutes. The job is safe for beginners. Follow each step to keep your boat dry and ready for the next trip.
Estimated time: 10 minutes. Difficulty: easy. Objective: find any water before it hurts your boat.
Before You Start: Tools, Gear & Preparation
| Item / Tool | Purpose | Optional / Required |
|---|---|---|
| Gloves | Protect your hands from dirt and sharp edges | Required |
| Flashlight | See dark corners of the bilge | Required |
| Bucket or sponge | Hold water you pull out | Required |
| Towel | Dry wet surfaces | Required |
| Boat key | Open the bilge hatch | Required |
| Safety glasses | Guard eyes from splashes | Optional |
Work on flat ground or a stable dock. Make sure the boat is not moving. Disconnect any shore power if you have it. Keep kids and pets away from the work area.
Step 1: Put on Safety Gear
Put on your gloves first. They keep your hands clean and safe.
If you have safety glasses, put them on now. They stop water or debris from hurting your eyes.
Check that your flashlight works. Turn it on and shine it on the ground. If the beam is dim, replace the batteries.
Captain’s Note: A bright LED flashlight lasts longer and shows small puddles clearly.
Step 2: Open the Bilge Access Hatch
Locate the bilge hatch on your jon boat. It is often near the rear or under a seat.
Insert the boat key and turn it to unlock. Lift the hatch slowly. Do not force it if it feels stuck.
Set the hatch aside in a safe place where it will not fall or get damaged.
Look for any obvious water on the hatch underside. Wipe it away with a towel if you see any.
Step 3: Look Inside with a Flashlight
Point the flashlight into the bilge opening. Scan the bottom and sides slowly.
Look for shiny spots, dark patches, or any pooling water. Even a thin film can be a sign.
If you see water, note how much is there. A few drops may be normal after rain. A cup or more needs action.
Trail Hack: Tilt the boat slightly to one side if you can. Water will shift to the low point and become easier to see.
Step 4: Remove Water with a Bucket or Sponge
If you found water, place your bucket under the lowest part of the bilge.
Use the sponge to soak up water and squeeze it into the bucket. Repeat until you cannot pull out more.
For larger amounts, you can use a small hand pump if you have one. Pump the water out into the bucket.
Check the bucket often. If it gets full, empty it away from the boat and continue.
Step 5: Dry the Bilge with a Towel
After removing the water, take a dry towel and wipe the bilge surfaces.
Press the towel into corners and seams where moisture can hide.
If the towel becomes wet, switch to a dry one and keep going until the area feels dry to the touch.
Feel the metal or plastic with your glove. If it feels cool or damp, keep drying.
Captain’s Note: A microfiber towel absorbs more water and leaves less lint.
Step 6: Close the Hatch and Re‑Check Later
Place the hatch back onto its opening. Make sure it sits flat and seals properly.
Turn the key to lock it. Give the hatch a gentle tug to confirm it is secure.
Write down the date and what you found. This helps you track any recurring leaks.
Check the bilge again after your next outing or after heavy rain. Regular checks keep problems small.
Common Mistakes & Troubleshooting
Problem: You see no water but suspect a leak
Cause: Water may be hidden under foam or inside compartments.
Quick Fix: Remove any removable floor panels or seats. Look underneath with the flashlight. Feel for dampness with your glove.
Problem: The hatch will not open
Cause: Dirt or corrosion can jam the latch.
Quick Fix: Spray a little lubricant on the latch. Wait a minute, then try the key again. Do not use force.
Problem: Water returns quickly after you dry it
Cause: A leak from a fitting, hose, or hull crack.
Quick Fix: Tighten any visible bolts or clamps. If water keeps coming, note the location and plan a repair.
Problem: You spill water inside the boat while cleaning
Cause: The bucket tipped or you squeezed too hard.
Quick Fix: Keep the bucket low and steady. Use a sponge instead of pouring. Dry any spill right away.
Frequently Asked Questions About How to Check Jon Boat Bilge for Water
How often should I check the bilge for water?
Check the bilge before every trip and after any heavy rain. If you boat often, a quick look each week is enough.
What if I find a small amount of water?
A few drops can be normal from spray or rain. Dry it out and watch for it to return. If it comes back, look for a leak.
Do I need a pump to remove water?
No. A bucket, sponge, or towel works for most small amounts. Use a pump only if you have a lot of water.
Is it safe to check the bilge while the boat is in the water?
Yes, if the boat is tied securely and not moving. Wear non‑slip shoes and keep your balance.
Can I use a regular household towel?
Yes. A clean cotton towel works fine. Just make sure it is dry before you start.
Final Thoughts
You now know how to check jon boat bilge for water in a few easy steps. Keep your gear handy and make it a habit. A dry bilge means a safer boat and more fun on the water.
Get out there, enjoy the ride, and stay dry!