
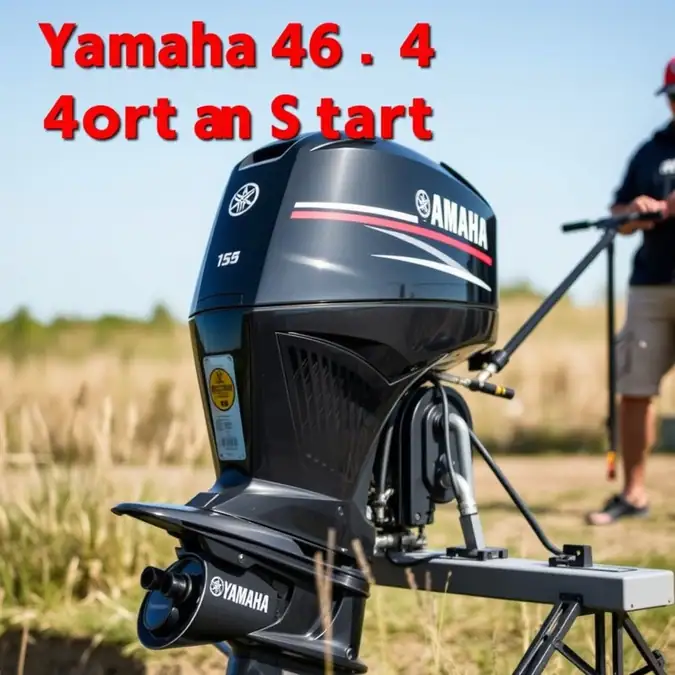
Yamaha 115 HP 4 Stroke Not Starting: Troubleshooting Guide
When your Yamaha 115 hp 4‑stroke outboard refuses to fire up, the frustration can quickly turn a perfect day on the water into a stressful ordeal. This guide walks you through the most common reasons a Yamaha 115 hp 4 stroke won’t start and gives you practical, step‑by‑step checks you can perform yourself before calling a mechanic.
Whether you’re a seasoned boater or a newcomer to outboard maintenance, understanding the fuel, ignition, and electrical systems will help you isolate the problem fast. By the end of this article you’ll know exactly what to look for, which tools you need, and when it’s time to seek professional help.
Common Causes of a No‑Start Condition

Before diving into specific systems, it helps to know the typical culprits behind a Yamaha 115 hp 4 stroke not starting. Most fall into three broad categories:
- Fuel delivery problems – clogged filters, stale fuel, or a faulty fuel pump.
- Ignition failures – weak spark, fouled plugs, or a defective ignition coil.
- Electrical faults – dead battery, corroded connections, or a malfunctioning safety switch.
Mechanical issues such as a seized piston or a broken timing belt are less common on a well‑maintained outboard but can appear after severe overheating or lack of lubrication.
Fuel System Checks

The fuel system is the first place to look when the engine cranks but won’t catch. Follow these steps in order.
1. Verify Fuel Quality and Level
Old gasoline can lose its volatility after 30‑60 days, especially if ethanol‑blended. Check the fuel tank for water separation or a sour smell. If the fuel looks cloudy or smells off, drain and replace it with fresh, unleaded gasoline rated for marine use (minimum 87 octane). Ensure the tank is at least one‑quarter full to avoid drawing air into the system.
2. Inspect the Fuel Filter
A clogged fuel filter restricts flow and can cause a lean condition. Locate the inline filter (usually between the tank and the pump) and remove it. If the filter element appears dark or blocked, replace it with a Yamaha‑approved part. While the filter is out, blow compressed air through the housing to clear any debris.
3. Test the Fuel Pump
The Yamaha 115 hp 4 stroke uses an electric fuel pump that should produce a steady hum when the key is turned to the “ON” position (engine not cranking). Listen near the pump; if you hear nothing, check the pump’s fuse and wiring. A multimeter set to DC volts should read battery voltage at the pump connector when the key is ON. No voltage indicates a wiring or fuse issue; voltage but no pump noise suggests a failed pump.
4. Check the Carburetor or Fuel Injectors
Depending on the model year, your outboard may have a carburetor or electronic fuel injection (EFI). For carbureted units, remove the float bowl and inspect for varnish or debris; clean with carburetor cleaner and replace the gasket if needed. For EFI models, a professional diagnostic scan is the best way to verify injector pulse width, but you can listen for a faint clicking sound from each injector when cranking.
Ignition System Inspection

If fuel is reaching the engine but there’s no spark, the ignition system is the next suspect.
1. Spark Plug Condition
Remove each spark plug and examine the electrode and insulator. Look for:
- Wet, fouled plugs – indicates excess fuel or oil.
- Dry, black, carbon‑covered plugs – suggests a weak spark or rich mixture.
- White or blistered insulator – points to overheating or lean condition.
Clean or replace plugs as needed, using the manufacturer’s specified gap (usually 0.028‑0.032 in).
2. Spark Test
Reconnect a plug to the ignition wire, ground the plug’s metal body against the engine block, and crank the engine. You should see a strong, blue spark jumping the gap. A weak orange spark or no spark indicates a problem upstream.
3. Ignition Coil and CDI Unit
Measure the primary and secondary resistance of each ignition coil with an ohmmeter; compare to the values in the service manual (typically 0.5‑1.5 Ω primary, 6‑15 kΩ secondary). Out‑of‑range readings mean the coil is faulty. The CDI (capacitor discharge ignition) unit can be tested only with a specialized tester; if you suspect it and the coils are good, consider swapping with a known‑good unit.
4. Kill Switch and Safety Lanyard
Many Yamaha outboards will not spark if the kill switch is engaged or the safety lanyard is detached. Ensure the lanyard is securely attached and the switch is in the “RUN” position.
Electrical System Tests

A healthy electrical system supplies power to the starter, fuel pump, and ignition. Begin with the battery.
1. Battery Voltage and Load
Measure the battery voltage at the terminals with the engine off. A fully charged marine battery should read 12.6 V or higher. Drop below 12.0 V indicates a discharged battery. Perform a load test (or have it done at a marine shop) to confirm the battery can deliver sufficient cranking amps.
2. Battery Cables and Connections
Inspect the positive and negative cables for corrosion, loose clamps, or frayed insulation. Clean terminals with a wire brush and apply dielectric grease. A voltage drop of more than 0.2 V across the cables while cranking suggests excessive resistance.
3. Starter Motor and Solenoid
If you hear a single click when turning the key but the engine doesn’t turn, the solenoid may be engaging but the starter motor is faulty. Listen for a whirring sound from the starter; absence of noise points to a dead motor. Bench‑test the starter by applying 12 V directly to its terminals (with safety precautions).
4. Neutral Safety Switch and Gear Position Sensor
Yamaha outboards incorporate a neutral safety switch that prevents starting unless the gear is in neutral. Wiggle the shift lever while holding the key in the “START” position; if the engine cranks only in certain positions, the switch may be misaligned or defective. Adjust or replace per the service manual.
Mechanical Issues to Consider
While less frequent, mechanical problems can prevent the engine from turning over or achieving compression.
1. Hydro‑Lock
If water has entered the combustion chamber (e.g., from a failed exhaust seal or submersion), the piston cannot compress liquid. Remove the spark plugs and crank the engine; water or fuel will spray out. Dry the cylinders, replace the plugs, and try again.
2. Seized Piston or Bearings
Severe overheating or lack of oil can cause internal parts to bind. Attempt to turn the flywheel manually with a wrench on the crankshaft bolt. If it won’t move, internal damage is likely and professional repair is required.
3. Timing Belt or Chain Failure
Some Yamaha 115 hp models use a timing belt to synchronize the camshaft. A broken belt will cause the engine to crank but not start, often with a distinctive “clunk” noise. Inspect the belt cover for visible damage; replacement requires timing alignment.
Step‑by‑Step Diagnostic Flow
Putting the checks together, follow this flow to narrow down the cause efficiently.
- Confirm battery voltage ≥12.6 V and solid connections.
- Listen for fuel pump hum with key ON; verify pump voltage.
- Check for spark at the plugs (plug test).
- If no spark → inspect plugs, coils, kill switch, safety lanyard.
- If spark present → verify fuel delivery (filter, pump, fuel quality).
- If fuel and spark are good → examine compression (manual flywheel turn) and look for hydro‑lock or mechanical binding.
- If all the above check out → consider ECU/EFI fault or seek professional diagnostics.
Each step eliminates a major system, letting you focus your effort where it matters most.
When to Call a Professional
Even the most capable DIYer encounters limits. Consider professional help if:
- You lack the proper tools (compression gauge, marine‑grade multimeter, timing light).
- Internal mechanical damage is suspected (seized piston, broken timing belt).
- EFI diagnostics reveal fault codes you cannot interpret.
- Repeated attempts to start drain the battery without progress.
- Safety concerns arise (fuel leaks, smoke, or unusual noises).
- Use fresh, ethanol‑free marine gasoline or add a fuel stabilizer if the boat will sit >30 days.
- Replace the fuel filter every 50 hours or at least once per season.
- Inspect spark plugs every 25 hours; replace annually or as needed.
- Check battery terminals monthly; keep the battery charged with a maintainer during storage.
- Run the engine at least once every two weeks during the off‑season to lubricate internal parts.
- Inspect the cooling system’s water pump impeller annually; overheating can lead to mechanical failure.
A certified Yamaha marine technician can perform a full diagnostic scan, pressure test the fuel system, and inspect internal components with borescopes—saving you time and preventing further damage.
Preventive Maintenance Tips
Regular upkeep dramatically reduces the chance of a no‑start scenario. Incorporate these habits into your routine:
By staying proactive, you’ll spend more time enjoying the water and less time troubleshooting.
Final Thoughts
A Yamaha 115 hp 4 stroke not starting is usually traceable to fuel, ignition, or electrical issues. Begin with the basics—battery condition, fuel quality, and spark—then work systematically through each system. Keep good records of what you’ve checked and replaced; this not only speeds up future diagnostics but also helps a technician if you need to involve one.
Remember, safety comes first. Work in a well‑ventilated area, keep flames away from fuel, and disconnect the battery when performing extensive electrical tests. With patience and the right approach, most starting problems can be resolved without a trip to the shop.