
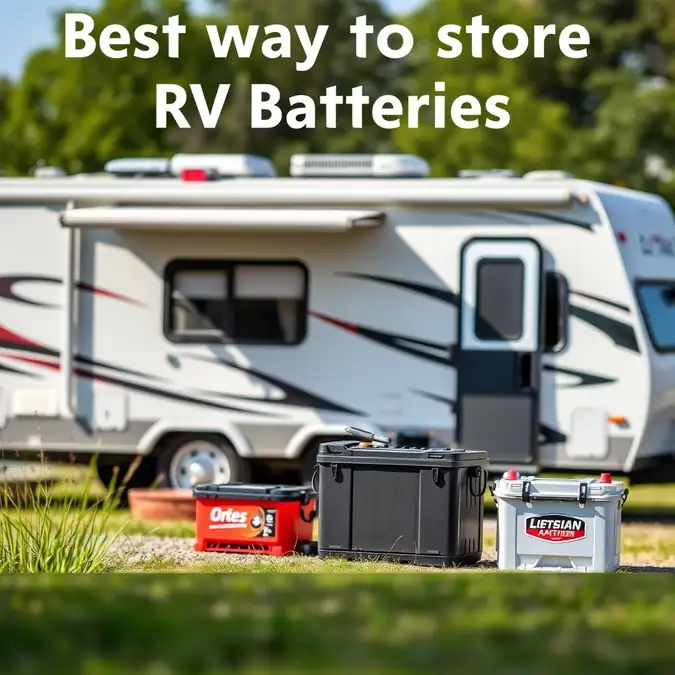
Best Way to Store RV Batteries – Simple Guide

Ever wonder how to keep your RV batteries safe when the rig is parked? You are not alone. Many boaters, anglers, and RV owners ask the same question each season. This guide shows the best way to store RV batteries in plain steps. You will learn what works, what to avoid, and how to extend battery life.
Why Proper Storage Matters
Batteries lose power when they sit too long in heat or cold. A dead battery can ruin a trip before it starts. Good storage keeps the charge strong and the plates healthy. It also saves you money on replacements.
Think about the last time you left a flashlight on the shelf. The light grew dim after weeks. The same thing happens to RV batteries if you ignore them. Let’s look at the simple rules that keep them ready.
Basic Rules for Battery Storage
Follow these three rules every time you store your RV batteries.
- Keep them clean and dry.
- Store them in a cool, dry place.
- Check the charge every month.
These steps work for lead‑acid, AGM, and lithium types. Let’s break each rule down.
Keep Them Clean and Dry
Dirt and moisture cause corrosion on the terminals. Use a dry cloth to wipe the case. If you see white powder, mix a spoon of baking soda with water and dab it on. Rinse with a little water and dry well.
Never spray water directly on the battery. Water can get inside and cause damage.
Store in a Cool, Dry Place
Heat speeds up the chemical reaction inside the battery. Cold can freeze the electrolyte in lead‑acid units. Aim for a spot that stays between 32°F and 80°F (0°C to 27°C). A garage shelf or a basement works well.
If you must store outside, use a insulated box. Keep the box off the ground to avoid damp.
Check the Charge Every Month
A battery that sits idle will slowly lose charge. Use a simple voltmeter to check the voltage. For a 12‑volt battery, a reading of 12.6 volts means full charge. If it drops below 12.4 volts, give it a short charge.
You do not need to charge it to 100% each time. A quick top‑off keeps the plates from sulfating.
Storage Methods Compared
Below is a simple table that shows three common ways to store RV batteries. Look at the pros and cons to pick what fits your setup.
| Method | Pros | Cons |
|---|---|---|
| Inside the RV (disconnected) | Easy to access Protected from rain |
Can get hot in summer May freeze in winter |
| In a climate‑controlled garage | Stable temperature Safe from moisture |
Needs space May need a power outlet for charging |
| In a insulated storage box outdoors | Keeps battery out of living space Can be locked |
Box must be sealed well Temperature can still swing |
Pick the method that matches your climate and space. Most owners find a garage shelf works best.
Step‑by‑Step Storage Process
Follow these steps each time you put your RV away for the season.
- Turn off all appliances and disconnect the shore power.
- Remove the negative cable first, then the positive.
- Clean the terminals and case as described above.
- Place the battery on a wooden pallet or plastic tray.
- Cover it with a breathable cloth (not plastic).
- Store it in your chosen spot.
- Set a calendar reminder to check the voltage each month.
When you are ready to use the RV again, reverse the steps. Connect the positive cable first, then the negative. Give the battery a full charge before you hit the road.
Special Tips for Lithium Batteries
Lithium batteries need a bit different care. They do not like to sit at 100% charge for long periods. Store them at about 50% charge. Check the voltage every month; it should be around 13.0 volts for a 12‑volt unit.
Never let a lithium battery drop below 10% charge. If it does, it may be damaged beyond repair.
Common Mistakes to Avoid
Even experienced RVers slip up sometimes. Here are the top mistakes and how to fix them.
- Leaving the battery connected – it drains slowly and can overheat.
- Storing on concrete – concrete draws moisture and can cause cold spots.
- Using a tight plastic cover – traps humidity and promotes corrosion.
- Forgetting to check – a dead battery surprises you at the worst time.
Avoid these and your batteries will last longer.
When to Replace a Stored Battery
No storage method stops aging forever. Look for these signs that it is time for a new battery.
- Voltage stays below 12.4 volts after a full charge.
- The case is swollen or cracked.
- You hear a clicking sound when you try to start the RV.
- The battery needs charging more often than before.
If you see any of these, recycle the old unit and buy a fresh one.
Quick Reference Checklist
Print this list and keep it in your RV folder.
- ☐ Disconnect cables (negative first).
- ☐ Clean terminals and case.
- ☐ Store in cool, dry place (32°F‑80°F).
- ☐ Check voltage each month.
- ☐ Top‑off charge if below 12.4 volts.
- ☐ Reconnect (positive first) when ready to go.
Frequently Asked Questions About Best Way to Store RV Batteries
How often should I check the battery voltage?
Check the voltage once a month. A quick reading takes less than a minute and helps you catch a drop early.
Can I store the battery on a concrete floor?
It is best to avoid direct concrete. Place a piece of wood or plastic under the battery to keep it dry and warm.
What voltage means the battery is fully charged?
For a 12‑volt battery, 12.6 volts or higher means full charge. If you see 12.4 volts or less, give it a charge.
Is it okay to leave the battery connected to the RV?
No. Leaving it connected drains the battery slowly and can cause damage. Always disconnect before storage.
Do lithium batteries need a special storage charge?
Yes. Store lithium batteries at about 50% charge (around 13.0 volts for a 12‑volt pack). Check the voltage each month.
Now you know the best way to store RV batteries. Follow the simple steps, check the charge, and your power will be ready when you are.
Get out there, enjoy the water, road, or trail, and keep those batteries humming.
2 thoughts on “Best Way to Store RV Batteries – Simple Guide: 9 Things to Know”