
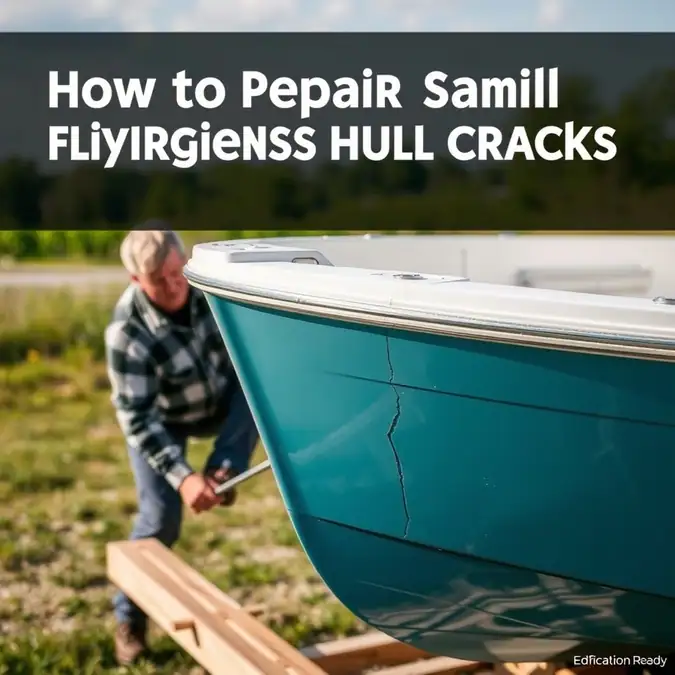
How to repair small fiberglass hull cracks – easy guide

How to repair small fiberglass hull cracks is a skill every boat owner should know. Small cracks can grow fast if you ignore them. Fixing them early saves money and keeps your boat safe. This guide shows you each step in plain words.
You will need only a few tools and some epoxy. Estimated time: about two hours. Difficulty: easy. Objective: seal the crack and stop water from getting in.
Tools and Gear You Need
- Sandpaper – 80 grit (required)
- Clean cloth (required)
- Acetone or rubbing alcohol (required)
- Fiberglass repair epoxy – such as West System (required)
- Mixing cup (required)
- Stir stick (required)
- Fiberglass cloth patch – small piece (required)
- Putty knife (required)
- Safety gloves (required)
- Safety glasses (required)
- Dust mask (required)
Make sure you work in a dry, shaded spot. Keep the boat out of direct sun while you work. Disconnect any shore power if you are on a dock.
Step 1: Clean the area around the crack
First, wipe the crack with a clean cloth. Remove any dirt, salt, or grime. Use acetone or rubbing alcohol on the cloth. This helps the epoxy bond well.
Let the area dry completely. You should see no wet spots. Feel the surface with your gloved hand. It should be smooth and free of oil.
Captain’s Note: If you see any loose fibers, pull them off gently. Loose bits will weaken the repair.
Step 2: Sand the crack and surrounding gelcoat
Take the 80‑grit sandpaper. Sand the crack itself and about one inch around it. Use a circular motion. Keep the sandpaper flat.
Stop when the gelcoat looks dull and the crack edges are rough. This gives the epoxy something to grip.
Wipe away the dust with a clean cloth. Then give it a quick wipe with acetone again. Let it dry.
Step 3: Mix the epoxy
Open your epoxy kit. Read the label for the mix ratio. Most kits use a 1:1 ratio of resin and hardener.
Pour the resin into the mixing cup. Add the same amount of hardener. Use the stir stick to mix for about two minutes.
Mix slowly at first, then faster. You should see no streaks. The mix should be clear and uniform.
Captain’s Note: Work in small batches. Epoxy starts to gel after about 20 minutes, so mix only what you can use.
Step 4: Apply epoxy and fiberglass cloth
Put on your gloves. Use the putty knife to spread a thin layer of epoxy over the cracked area. Fill the crack completely.
Cut a piece of fiberglass cloth a little bigger than the crack. Lay the cloth over the wet epoxy.
Gently press the cloth down with the putty knife. Make sure it lies flat with no bubbles. Add another thin layer of epoxy on top of the cloth.
Smooth the surface with the knife. Feather the edges so the repair blends with the hull.
Step 5: Let the epoxy cure and sand smooth
Leave the repair alone for the time stated on the epoxy label. Usually this is 4 to 6 hours at room temperature.
Do not touch or move the boat while it cures. After the time is up, check that the epoxy is hard. It should not dent when you press a fingernail.
Sand the repaired area with 120‑grit sandpaper, then finish with 220‑grit. Sand until the surface feels even with the surrounding gelcoat.
Wipe away dust with a clean cloth. Then wipe with acetone to remove any oily residue.
Step 6: Apply gelcoat or paint (optional)
If your boat has a colored gelcoat, you can apply a matching gelcoat over the repair. Follow the product directions for mixing and application.
If you prefer paint, use a marine‑grade primer first, then a topcoat that matches your hull color.
Apply thin coats, letting each dry as directed. Usually two coats are enough.
After the final coat dries, buff the area with a soft cloth. Your repair should now look seamless.
Common Mistakes and Quick Fixes
Mistake: Skipping the cleaning step
Problem: The epoxy does not stick and peels off after a few days.
Cause: Dirt or oil on the surface blocks the bond.
Quick Fix: Remove the failed epoxy, clean the area with acetone, and redo the repair from step 1.
Mistake: Using too much epoxy
Problem: The repair feels heavy and the cloth shows through.
Cause: Excess epoxy creates a thick, uneven layer.
Quick Fix: Sand down the high spots after curing, then add a thin filler coat if needed.
Mistake: Not sanding enough before epoxy
Problem: The crack reopens under stress.
Cause: Smooth gelcoat gives the epoxy nothing to grip.
Quick Fix: Sand the area again until it feels dull, then repeat the epoxy application.
Frequently Asked Questions About how to repair small fiberglass hull cracks
How long does the repair last?
When done correctly, a small fiberglass hull crack repair can last many years. Regular checks help catch any new damage early.
Can I use regular household epoxy?
It is best to use a marine‑grade fiberglass epoxy. Household epoxy may not resist water or flex with the hull.
Do I need to remove the boat from the water?
For a small crack repair, you can work on the boat while it is on a trailer or lift. Keep the hull dry and clean during the process.
What if the crack is longer than six inches?
Longer cracks may need a structural patch or professional help. This guide is for cracks under six inches.
Final Thoughts
You now know how to repair small fiberglass hull cracks with simple tools and clear steps. Take your time, follow each step, and keep safety gear on.
Get out on the water with confidence, knowing your boat is sealed and ready for the next adventure.