
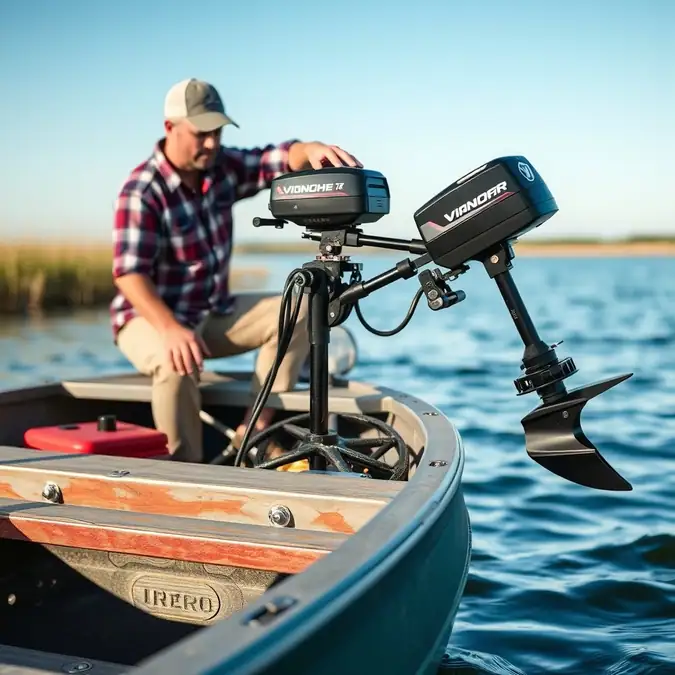
How to Install a Trolling Motor on a Jon Boat: Step-by-Step Guide

Want to fish quiet and move slow? Learning how to install a trolling motor on a jon boat lets you do just that. You save money. You skip the shop wait. You gain total control of your boat. This guide walks you through every step. No guess work. No fancy talk. Just clear action.
Estimated Time: 2 to 4 hours
Difficulty: Moderate
Primary Objective: Mount a bow or transom motor that runs true and safe.
Before You Start: Tools, Gear & Preparation
Gather your gear first. A flat work area helps. A calm day helps more. Disconnect shore power. Wear safety glasses and gloves. Keep a life jacket near by.
| Item / Tool | Purpose | Optional / Required |
|---|---|---|
| Trolling motor with mount | Main drive unit | Required |
| Marine battery (deep cycle) | Power source | Required |
| Battery box | Protects battery | Required |
| Circuit breaker or fuse (50-60 amp) | Protects wiring | Required |
| Marine grade wire (8-6 AWG) | Carries power | Required |
| Ring terminals & heat shrink | Secure connections | Required |
| Drill & bits (3/8, 1/2 inch) | Makes mount holes | Required |
| Socket set & wrenches | Tightens bolts | Required |
| Tape measure & marker | Marks hole spots | Required |
| Level | Keeps mount square | Required |
| Marine sealant (butyl tape or caulk) | Seals holes | Required |
| Wire strippers & crimper | Preps wire ends | Required |
| Zip ties & cable clamps | Secures wire runs | Required |
| Anti-corrosion spray | Protects terminals | Optional |
| Quick disconnect plugs | Easy motor removal | Optional |
Captain’s Note: Measure your transom or bow width. Match the motor shaft length to your boat. Too short and the prop cavitates. Too long and it hits bottom.
Step 1: Choose Mount Location and Motor Type
Decide bow mount or transom mount. Bow mounts pull the boat. They steer better in wind. Transom mounts push. They are easier to install. Jon boats often use transom mounts on the back. Bow mounts need a flat front deck. Check your deck space. Measure from the gunwale to the water line. Add 12 to 18 inches for shaft length. Pick a motor with at least 40 lbs thrust for a 12 to 14 foot jon boat. Go 55 lbs for 16 foot or heavier loads.
Ready to pick? Match the volt system to your battery plan. 12 volt uses one battery. 24 volt uses two. 36 volt uses three. More volts mean more run time and power. But more batteries mean more weight.
Step 2: Prep the Boat and Mark Holes
Clean the mount area. Remove old paint, rust, or grime. Use a wire brush. Wipe with acetone or alcohol. Let it dry. Place the mount bracket on the transom or bow. Center it side to side. Use the level. The bracket must sit flat. Mark every bolt hole with a marker. Double check spacing. Measure twice. Drill once.
Notice any curve on the transom? Some jon boats have a slight arc. Use a backing plate inside if the metal is thin. This spreads the load. It stops cracks.
Step 3: Drill Mount Holes and Seal
Drill each marked hole. Use a sharp bit. Go slow. Keep the drill straight. Clear metal shavings. Wipe holes clean. Apply butyl tape or marine caulk to each hole. Put a dab on each bolt thread too. This keeps water out. Water in the hull causes rot and rust.
Here is a trick most anglers learn late: coat the bolt shanks with anti-seize. It makes future removal easy. Salt and time freeze plain bolts fast.
Step 4: Bolt the Mount Bracket Fast
Set the bracket back on the holes. Insert bolts from the outside. Add washers inside. Thread nuts by hand. Snug them in a star pattern. Top left, bottom right, top right, bottom left. Torque to spec if listed. Usually 15 to 20 ft-lbs for 3/8 bolts. Do not over tighten. You can crush thin aluminum.
Wiggle the bracket. It should not move. Push hard side to side. Push up and down. Solid? Good. Wipe excess sealant. Let it cure per label directions.
Step 5: Mount the Motor Head to the Bracket
Lift the motor onto the bracket. Align the pins or slots. Slide it down. Lock the clamp handles or tighten the knob. The motor must sit vertical. Check the shaft. It should hang straight. No lean left or right. Tighten all lock points. Give the head a firm shake. It must not wiggle.
Can you reach the controls from your seat? Sit in your fish spot. Grab the tiller or foot pedal. Adjust the motor angle if needed. Most brackets let you tilt the motor up for travel.
Step 6: Run Power Wires to the Battery
Plan the wire path. Keep wires away from sharp edges. Avoid hot engine parts. Stay clear of steering cables. Run wires along the gunwale or under the deck. Use cable clamps every 12 to 18 inches. Zip ties work for short runs. Leave slack at both ends. Do not pull tight.
Strip wire ends. Crimp ring terminals. Slide heat shrink over each. Heat it tight. Connect positive (red) to the breaker input. Connect breaker output to battery positive. Connect negative (black) straight to battery negative. Put the breaker within 7 inches of the battery. This is ABYC standard. It stops fires.
Step 7: Install Circuit Protection and Battery
Mount the breaker or fuse block. Use a screw or bolt. Keep it dry. Connect the battery inside the box. Positive first. Negative last. Spray terminals with anti-corrosion spray. Close the box lid. Strap the box down. A loose battery becomes a missile in rough water.
Trail Hack: Label each wire with tape tags. Red tag for positive. Black tag for negative. Future you will thank present you.
Step 8: Test, Trim, and Fine Tune
Turn the motor on low. Watch the prop. It should spin smooth. No wobble. No noise. Steer left. Steer right. Check response. Deploy the motor in water. Set depth so the prop is 12 inches under the surface. Too shallow sucks air. Too deep hits weeds.
Run at half speed for 5 minutes. Feel the wire connections. Warm is ok. Hot is bad. Check the breaker. It should not trip. If it trips, you have a short or undersized wire. Fix before you fish.
Common Mistakes & Troubleshooting
Problem: Motor pulls hard to one side.
Cause: Mount not square or shaft bent.
Quick Fix: Loosen bracket. Re-level. Re-tighten. Check shaft run out.
Problem: Breaker trips at high speed.
Cause: Wire too small or breaker too weak.
Quick Fix: Upgrade to 6 AWG wire. Use 60 amp breaker for 55 lb motors.
Problem: Prop cavitates (sucks air).
Cause: Motor mounted too high.
Quick Fix: Lower shaft one notch. Add a spacer block under bracket if needed.
Problem: Battery dies fast.
Cause: Wrong battery type or old battery.
Quick Fix: Use Group 27 or 31 deep cycle. Charge fully before each trip.
Problem: Corrosion on terminals after one season.
Cause: No anti-corrosion spray or loose connections.
Quick Fix: Clean with wire brush. Re-torque. Spray heavy. Use dielectric grease.
Frequently Asked Questions About How to Install a Trolling Motor on a Jon Boat
What size trolling motor do I need for a 14 foot jon boat?
A 45 to 55 lb thrust 12 volt motor works well. Go 24 volt if you fish all day or fight current.
Can I install a bow mount on a flat front jon boat?
Yes. You need a flat deck at least 18 inches wide. Reinforce with a backing plate under the deck.
Do I need a circuit breaker by law?
ABYC standards require overcurrent protection within 7 inches of the battery. It is smart safety.
How deep should the prop be in the water?
Keep the prop center 12 inches below the surface. Adjust for waves and load.
Can I use a car battery instead of a marine battery?
No. Car batteries are for starting. They die fast under deep discharge. Use a deep cycle marine battery.
Final Thoughts
You did it. Your jon boat now has a trolling motor. You mounted it square. You wired it safe. You sealed it tight. That means quiet days on the water. More fish. Less noise. Take it slow on the first run. Watch the depth. Listen for odd sounds. Adjust as needed. Now get out there and catch something.