
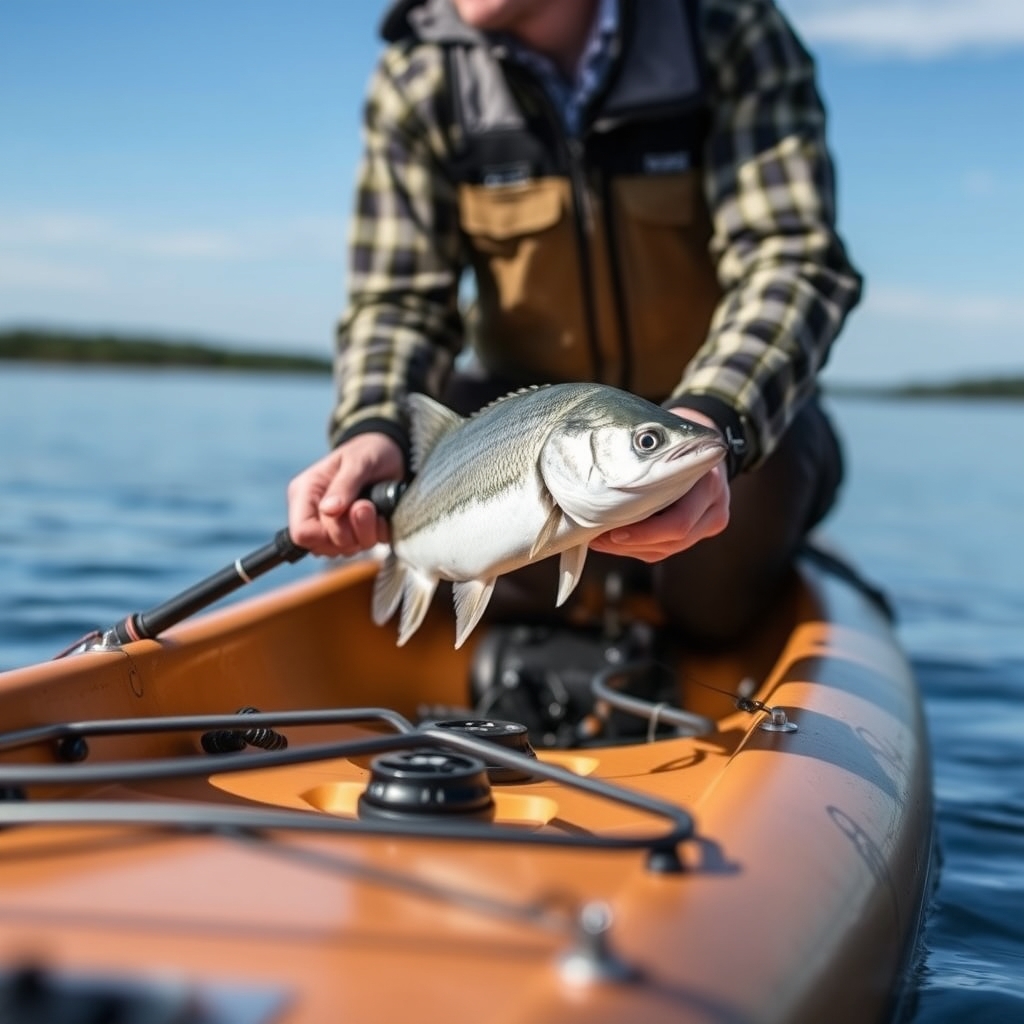
How to Rig a Kayak for Fluke Fishing: A Step-by-Step Guide

Want to catch more fluke from your kayak? You’re in the right place. This guide walks you through how to rig a kayak for fluke fishing in clear, practical steps. You’ll set up rods, anchors, and gear so you can fish safely and efficiently—no fluff, just what works on the water.
Estimated Time: 30 minutes
Difficulty: Easy
Goal: A clean, ready‑to‑fish kayak setup for fluke.
Before You Start: Tools, Gear & Preparation
Gather your gear before you launch. A flat dock or driveway gives you a stable work surface. Make sure the kayak is dry and steady. Check the forecast—light wind and calm water make rigging a lot easier.

| Item / Tool | Purpose | Optional / Required |
|---|---|---|
| Kayak (sit-on-top preferred) | Base platform | Required |
| Rod holders (flush mount or rail mount) | Hold rods while you drift | Required |
| Anchor system (anchor trolley, 3‑lb claw anchor, rope) | Keep boat in strike zone | Required |
| Fish finder / GPS (portable) | Find bottom structure | Optional |
| Tackle crate or milk crate | Store rigs, bucktails, bait | Required |
| Paddle leash | Keep paddle close | td>Required|
| Personal flotation device (PFD) | Safety first | Required |
| Drill, stainless screws, sealant | Mount hardware | Required if adding new mounts |
| Bungee cords / gear tracks | Secure crate, cooler, net | Optional |
Safety Check: Wear your PFD at all times. File a float plan with a friend or family member. Carry a whistle and a waterproof VHF radio or phone in a dry bag.
Step 1: Plan Your Layout
Sit in the kayak and reach forward and back. Note where your legs naturally fall. You need open space to paddle or pedal without obstruction. Position rod holders within easy reach but clear of your paddle stroke. Most anglers mount two holders behind the seat and one forward on each side.

Ask yourself: Can I grab a rod instantly when a fish hits? Will the anchor line snag my feet? Sketch a quick deck map on paper or lay tape on the hull to test positions.
Captain’s Note: Keep the center of the deck open. You’ll stand there to net fish or stretch.
Step 2: Install Rod Holders
Mark the mounting holes for each holder. Use the supplied template if there is one. Drill pilot holes with a bit a touch smaller than the screws. Coat each hole with marine sealant, then fasten the holder securely. Wipe away any excess sealant.

If you’re using rail‑mount holders, clamp them to the gunwale tracks. Hand‑tighten the knobs, then give each a quarter turn with pliers—don’t over‑tighten, or you risk cracking the plastic.
Test each holder with a rod. The butt should sit firm, the tip angled up and slightly outward. Adjust the angle if needed.
Step 3: Set Up the Anchor Trolley
An anchor trolley lets you shift the anchor point from bow to stern. Run a line through pulleys at both ends, attach a carabiner or ring to the main line, and clip your anchor rope to that ring.

Pull the trolley line to move the anchor point. When drifting for fluke, keep the anchor off the bow so the kayak points into the current. Practice on land first—make sure the line runs freely and the pulleys don’t bind.
Trail Hack: Add a small float to the trolley line so you can spot it in low light.
Step 4: Mount the Anchor
Tie a 3‑lb claw anchor to 50 ft of ¼‑in. nylon rope with a bowline. Add a short 2‑ft chain between rope and anchor to help it dig. Coil the rope in a bucket or bag near the cockpit for quick access.
Deploy by tossing the anchor clear of the kayak. Let the rope pay out, then lock the trolley ring at the bow. The kayak will swing head‑to‑current. Verify the rope doesn’t chafe against any sharp edges.
Step 5: Add a Tackle Crate
Place a milk crate or dedicated tackle crate behind the seat. Secure it with bungee cords to gear tracks or D‑rings. Load it with fluke rigs: bucktail jigs (1–3 oz), teaser hooks, Gulp! baits, and a small pair of pliers. Keep a measuring board and a rag within arm’s reach.
Organize by weight—light jigs on top, heavy ones below—so you can swap quickly when the tide changes.
Step 6: Install Electronics (Optional)
If you’re running a portable fish finder, mount the transducer on a suction cup or through‑scupper arm. Route the cable along the gunwale, zip‑tying it every foot. Mount the display on a RAM mount where you can see it at a glance.
Power it with a small 12‑V battery in a waterproof box. Velcro the box to the hull. Fire up the screen in sunlight and dial in the brightness.
Step 7: Secure Paddle and Safety Gear
Clip a paddle leash to the shaft and a deck loop. Stow the paddle in the paddle park or across your lap while fishing. Attach a whistle to your PFD. Keep a dry bag with phone, license, and first‑aid kit within easy reach.
Do a final walk‑around. Shake each mount, pull the anchor rope, open and close the crate. Everything should feel rock‑solid.
Step 8: Test on the Water
Launch in calm water and drift a known fluke spot. Drop a jig to the bottom and feel for the bite. If you’re missing strikes, tweak the rod‑holder angles. Adjust the trolley to change drift speed. Note what works and fine‑tune later.
You’re now rigged for fluke. Have fun and stay safe.
Common Mistakes & Troubleshooting
Problem: Rod holder spins when a big fish hits.
Cause: Loose screws or missing sealant.
Fix: Tighten screws, apply sealant, and let cure 24 hours.
Problem: Anchor rope tangles feet.
Cause: Trolley ring set too far aft.
Fix: Move the ring forward; keep the rope running along the gunwale.
Problem: Crate slides when you lean.
Cause: Bungee cords too loose.
Fix: Double up the cords or add a ratchet strap.
Problem: Fish finder reads nothing.
Cause: Transducer not submerged or angled wrong.
Fix: Check the mount; ensure the face points straight down.
Frequently Asked Questions About How to Rig a Kayak for Fluke Fishing
What size anchor do I need for a kayak?
A 3‑lb claw anchor handles most kayaks in tidal water. Heavier anchors are a pain to pull.
Can I use a milk crate instead of a tackle box?
Absolutely. Milk crates are cheap, drain water, and fit most rod holders—just secure them well.
Do I need a fish finder for fluke?
Not required. Fluke hug bottom structure, and a finder simply speeds up locating sand ridges and wrecks.
How many rod holders should I install?
Three to four is standard—two behind the seat, one or two forward. More just adds clutter.
What is the best knot for the anchor rope?
Bowline. It won’t slip under load and unties easily afterward.
Final Thoughts
You now know how to rig a kayak for fluke fishing from start to finish. A clean layout, solid mounts, and a functional anchor trolley put you on fish faster. Test the setup, tweak the small things, and spend more time fishing. The water’s waiting—grab your paddle and go land a doormat.