
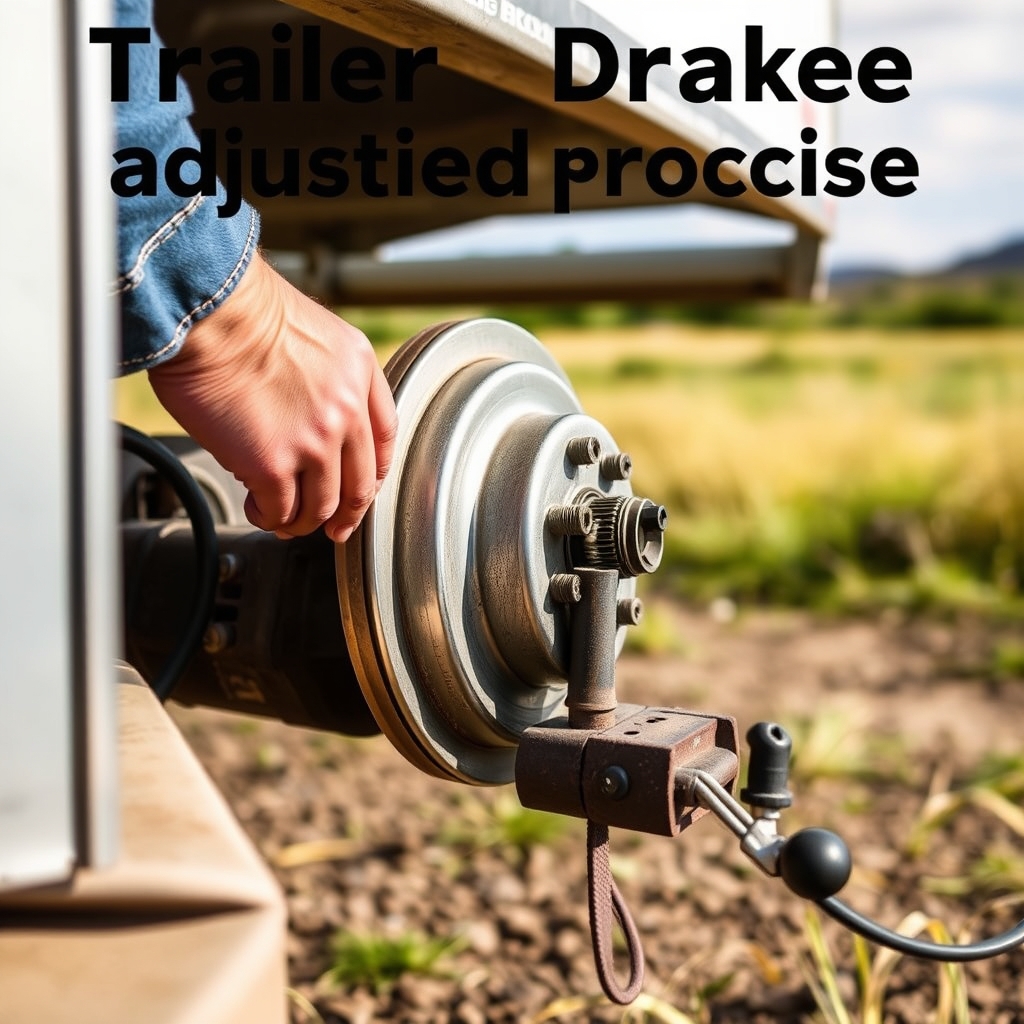
Trailer Brake Adjustment Procedure: A Simple Step-by-Step Guide

Ever wonder what keeps your trailer from rolling into the ditch when you hit the brakes? It all comes down to your trailer brake adjustment procedure. Whether you haul a boat, an RV, or a load of gear, knowing how to adjust your trailer brakes is one of the most important skills you can pick up. This guide walks you through everything you need to know, from the basics to the hands‑on steps, so you can hit the road with confidence.
A proper trailer brake adjustment procedure keeps your stopping power strong and your investment safe. Neglecting it can lead to worn brakes, longer stopping distances, and costly repairs. Let’s dive in.
What Is a Trailer Brake Adjustment Procedure?
So, what exactly is a trailer brake adjustment procedure? It is the process of checking and tuning your trailer’s braking system so it responds correctly when you apply the brakes on your tow vehicle.

Think of it like tuning a guitar. If the strings are too loose, nothing sounds right. If your trailer brakes are out of adjustment, they either drag too much or don’t grab when you need them. The procedure involves checking brake shoes, adjusting star wheels, and making sure the braking force matches your load.
Most trailers use either electric brakes or surge brakes. Each type has its own adjustment method, but the goal is the same: smooth, reliable stopping power every time you hit the brake pedal.
Why Adjusting Your Trailer Brakes Matters
Why should you care about trailer brake adjustment? Simple answer: safety. A trailer with improperly adjusted brakes can double your stopping distance. On a steep downgrade, that difference can mean the gap between a controlled stop and a runaway situation.

Here is what happens when you skip adjustments:
- Brake shoes wear unevenly, which means you will need to replace them sooner.
- Your tow vehicle works harder, leading to more fuel use and more strain on the engine.
- Brakes can overheat on long downhill runs, causing fade and reduced stopping power.
- You risk damaging the trailer axle or wheel bearings from excessive drag.
Getting the trailer brake adjustment procedure right is cheap insurance. It takes about 20 to 30 minutes and can save you hundreds of dollars down the road.
Types of Trailer Brakes and How They Work
Before you start any trailer brake adjustment procedure, you need to know what kind of brakes your trailer has. Most trailers on the road today use one of two systems.

Electric Brakes
Electric brakes are the most common type found on boat trailers, RV trailers, and utility trailers. They use an electric brake controller mounted in the tow vehicle to send a signal to the brake magnets inside the trailer hubs. When you press the tow vehicle brakes, the controller sends power to the trailer brakes at the same time.
Electric brakes are great because you can fine‑tune the braking power with a simple dial on the controller. They respond quickly and work well for heavy loads.
Surge Brakes
Surge brakes work on a different principle. When the tow vehicle slows down, the trailer pushes forward against the coupler. This motion compresses a hydraulic actuator, which activates the brakes on the trailer. You do not need a brake controller with surge brakes.
Surge brakes are common on boat trailers because they handle the constant back‑and‑forth of launching and retrieving a boat well. However, they can be less precise than electric brakes.
| Feature | Electric Brakes | Surge Brakes |
|---|---|---|
| Control Method | Brake controller in tow vehicle | Hydraulic actuator from push |
| Adjustment | Controller dial + manual star wheel | Manual star wheel only |
| Best For | Heavy loads, steep grades | Boat trailers, lighter loads |
| Complexity | Moderate | Simple |
| Cost to Install | Higher | Lower |
What You Need to Adjust Trailer Brakes
You do not need a fancy workshop to complete a trailer brake adjustment procedure. Here is what to grab before you start:

- Lug wrench or breaker bar to remove the wheels.
- Adjusting tool (star wheel wrench) specific to your brake system.
- Jack and jack stands to safely lift the trailer.
- Brake grease for lubricating moving parts.
- Wire brush to clean off rust and debris.
- Spring brake adjuster if you have spring brakes.
- Gloves and safety glasses to protect your hands and eyes.
Most of these items cost under $30 total and can be found at any auto parts store or hardware shop. Keep a basic kit in your trailer at all times so you are always ready.
Step-by-Step Trailer Brake Adjustment Procedure
This is the core of the guide. Follow these steps for electric brakes, and you will have your trailer braking like new in no time.
Step 1: Lift the Trailer and Remove the Wheels
Start by parking the trailer on a flat, level surface. Set the jack stands under the frame rails and use the jack to lift one side of the trailer at a time. Remove the lug nuts and take off the wheels so you have clear access to the brake assemblies.
Always use jack stands. Never rely on a jack alone to hold a loaded trailer up.
Step 2: Inspect the Brake Components
Before adjusting anything, take a good look. Check the brake shoes for wear. Look at the drums for cracks or deep grooves. If the brake shoes are worn down to the minimum thickness, replace them before you adjust.
Spin the hub by hand and listen for grinding or scraping sounds. Those sounds usually mean something is worn out or out of alignment.
Step 3: Find the Star Wheel
On most electric brake assemblies, there is a star wheel on the outside of the brake backing plate. This is the main adjustment point. The star wheel controls how far the brake shoes extend into the drum.
Turn the star wheel by hand or with the adjusting tool. Clockwise tightens the shoes; counterclockwise loosens them.
Step 4: Adjust the Brake Shoes
Here is the key part of the trailer brake adjustment procedure. Turn the star wheel until the brake shoes just touch the inside of the drum. You want a small amount of drag, not a hard lock‑up.
A good trick is to spin the hub and feel for resistance. You should feel the shoes grabbing the drum with just enough pressure to slow the wheel down slowly. If the wheel spins freely with no drag, turn the star wheel a bit more. If it locks up, back the star wheel off slightly.
Step 5: Test the Brakes on the Road
Put the wheels back on and lower the trailer. Take it for a slow test drive on a quiet road. Apply the brakes gently and check for even stopping. If one side pulls, the adjustment may be uneven.
Repeat the adjustment on the other side if needed. Always check both sides for equal drag.
Step 6: Fine‑Tune the Brake Controller
If you have electric brakes, now is the time to dial in the brake controller. Start with the controller at a low setting and increase it gradually until the trailer brakes engage with a firm but smooth response.
The right setting depends on your load weight. A heavier load needs more braking force. Check your brake controller manual for the recommended setting based on your trailer’s gross weight.
Step 7: Check and Re‑Check
After your first test drive, stop and re‑check the adjustment. Brakes can shift slightly after the first few applications. Make small tweaks as needed until the feel is right.
Pro tip from the field: check your brake adjustment every time you load up for a trip. Load weight changes how the brakes seat, and a quick check can prevent a big problem.
How Often to Adjust Your Trailer Brakes
So how often should you go through a trailer brake adjustment procedure? The answer depends on how much you tow and what conditions you drive in.
As a general rule, check your brake adjustment every 1,000 miles or at least once a season. If you tow in dusty, muddy, or salty conditions, check more often. Saltwater and road salt eat away at brake components fast, so a quick rinse and inspection after a beach trip or winter drive can add years to your brake life.
Watch for these signs that it is time to adjust:
- The brake pedal feels spongy or goes too far down.
- You notice a burning smell when driving downhill.
- The trailer pulls to one side when braking.
- Your stopping distance feels longer than normal.
Frequently Asked Questions About Trailer Brake Adjustment Procedure
What Is the Best Trailer Brake Adjustment Procedure?
The best trailer brake adjustment procedure starts with lifting the trailer, inspecting all components, finding the star wheel, and turning it until the brake shoes just grip the drum with light drag. Then test on the road and fine‑tune. Always adjust both sides evenly.
How Much Does Trailer Brake Adjustment Cost?
Doing it yourself costs almost nothing — just the price of a few tools and brake grease, usually under $30 total. If you pay a shop, expect to pay $50 to $150 depending on your location and the complexity of the brake system.
Can I Adjust Trailer Brakes Without Removing the Wheels?
Some trailers allow you to access the star wheel without removing the wheels, but most setups require wheel removal for a proper adjustment. Removing the wheels gives you full visibility and lets you check all components at once.
Do Surge Brakes Need Adjustment Too?
Yes, surge brakes need adjustment just like electric brakes. You adjust the star wheel on the brake assembly to set the correct gap between the shoes and the drum. The process is similar but does not involve a brake controller.
What Should I Look for When Buying a Trailer Brake Adjustment Kit?
Look for a kit that matches your brake type — electric or surge. Make sure it includes the right star wheel wrench, brake shoes if needed, and grease. Check that the parts fit your trailer’s hub size and bolt pattern.
Final Thoughts
Getting your trailer brake adjustment procedure right is one of the simplest and most impactful things you can do as a boater, angler, or RV owner. It takes a little time, costs almost nothing on your own, and keeps you and your family safe on the road. Think of it as part of your pre‑trip checklist — right along with loading the cooler and checking the oil.
Next time you pull out the trailer, take a few minutes to check those brakes. Your future self, and everyone sharing the road with you, will thank you. Now get out there and enjoy the ride!